Thursday, 21 November 2013

Wishing you extras

I enjoyed my 'Wishing You' class so much I even made some extras to show!

The good thing is that it helped me start my own card stash for Christmas.
Here's a tag with decoupaged layers....


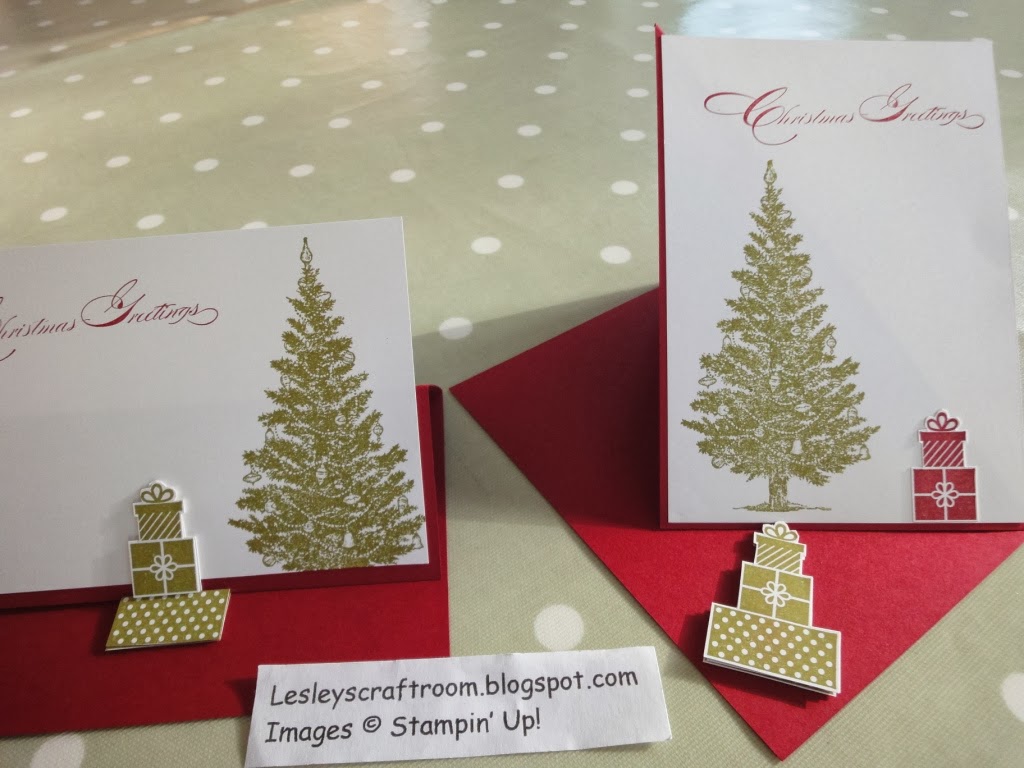
Here's a couple of  easel cards, using 'Special Season' and the gift boxes from 'Wishing You', as the stoppers, by decoupaging them to give height.

I hope you have enjoyed the 'Wishing You' compilation!?

Wednesday, 20 November 2013

A Stamp is not just for Christmas!

Continuing my 'Wishing You' class projects,
I wanted to show you how this cute little set is useful for all occasions... 
birthdays, anniversaries, weddings......


Just by changing the colours and sentiment....
Here they are side by side, can you see what I mean?

I also liked how a plain mat was laid first, then the ribbon over that, and then the topper.
It's a slightly different way of layering up.....see Stampinpretty.com for other fab ideas.

Tuesday, 19 November 2013

Wishing You a happy Christmas Class

I really enjoyed doing a class around the 'Wishing You' Stamp Set from Stampin' Up!

Here's one using the Paper Stack Season of Style,
a stamped tag die cut with the Chalk Talk Framelits,
and some of the lush Cherry Cobbler Ribbon.

This ribbon is gorgeously soft, wide, and drapes beautifully.
Here we tied it with some bakers twine.
I got this one from craftingonhat.blogspot.com


This used my favourite Crumb Cake card.
We embossed a Designer Frame, then cut out the centre,
placing a stamped image underneath.
Cut the tag using the Chevron Border Punch, but I think you could also use a square or the hexagon one.
Added some twine and rhinestones.....
copied from stampingville.blogspot.com


This was another Pinterest find......I love the simple layout, and you can change the layers, use dimensional foam pads, and use colours to suit......
This was cased from stampinpretty.com


Monday, 18 November 2013

Flower Shop


Hiya, hope all's well with you today!

I loved this one...a lot....and I don't often say that!

I had a go at removing a border stamp from it's wheel 
(see Page 103 of the Stampin' Up! Catalogue).
This was a lot easier than I thought!
It just peeled it off, then I added some Clear-Mount Cling Foam (See Page 197)
so that I can now use it on a clear block.

It's Viola's Lace, and I thought very apt for a fellow lace- maker's card. 


I then added a 'Flower shop' flower in the same black ink,
put some Melon Mambo ribbon, and another flower in the same colour.
Added a butterfly punched from some co-ordinating DSP (Designer Series Paper),
some Rhinestones, including one LARGE one!
Mounted on black card, it really stands out against the Whisper White and shocking pink.

This was inspired by a tag from freubelsvandemolletjes.blogspot.nl......
just don't ask me to pronounce it!

Sunday, 17 November 2013

Sampler patchwork

Hiya!
How's it going?!

Hoping to give you some more inspiration this week.......

Here's using the Six-sided Sampler, and only two colours, nice and simple


I think I cased this from Pinterest, so do let me know if it's your idea!
Cute butterflies and Rhinestones add detail.

Wednesday, 13 November 2013

Tom's birthday

Made this for Alan's Dad.....


Methinks I'll have to learn how to do this technique properly....
when I get 'the time' that is lol 


Here's a close-up

Monday, 11 November 2013

little star

I promised to show you Ros's 'bucket'
well.....at long last I took a pic, and here it is!
 It's actually a cute little tealight holder......
......with a fab Star on the side to decorate, with one of those lush frosted embellishments in the centre

I can't wait to get time to play even more with this star stamp............
Have you got yours yet?

see you soon
lots of love
Lesley x