Thursday 31 October 2013

Happy Halloween!

Hi there
thanks for stopping by.....

here to haunt you tonight is...
a spooky little number from my friend Liz, Stampin' Up! style

scarily gorgeous grunge owl punch ghosties...

BOO!

Sunday 27 October 2013

Team swaps

I had a fantastic day with Sarah's Starlets today,
gathered in my Craft Room, with the wind building up outside.
I do hope the storm is not as bad as they predict.

My swap was this 3-d Star to hang on a tree.

The Star from Stampin' Up! really lends itself easily to all sorts of 3-d projects.

I thought I'd share how I made mine, in case you are interested.
I stamped and embossed in silver, onto silver card stock.
This gives the illusion of being metal.

I have to point out, that my versamark inkpad is decidedly old,
 and covered in glitter and other stray elements!
The silver emboss powder is old too, and not Stampin' Up!


I then cut them out, leaving a small border all the way round.
You need two for each ornament.

Just as you would a box, I cut all tips at an angle.
Cut each valley up to the image,
and also snip at an angle, in towards the inner point of the image.

Score each of the lines of the star's image,
and fold the mountains and valleys as per the image
the long lines are mountains, shorter lines valleys.


Then score all the outer lines of the image.
The borders will then become the inner edges of the 'box'.


Fold all the score lines, folding the borders in towards the back.

Here's a closer view

I then applied glue to the tips only, and carefully glued them back to back.
By sticking the tips only, the rest of the flaps will spring up, filling the gaps in between the two stars.

The next challenge was to wrap the twine around the two stars to make another star shape,
and to provide a length by which to hang the finished star.
I can only suggest taking your time, and continually checking the back and front!
You can try going in a clockwise direction, but I couldn't devise a sure-fired solution.

(I suspect there's someone out there that could provide easy instructions to follow!)

Suffice to say, I hope you do not suffer from the storm,
but if you do end up having to stay at home,
you could always give this a try. 

Hostess Gift

I was so lucky to be invited to do a Workshop for a lovely Craft Group of about 20 ladies
This was a little gift I made for the organiser.


It's a simple card stock bag, made from two labels framelits,
and filled with some cute little cards to match.

We made this at a Team training day some time ago.
It's one of the many benefits of being part of a Stampin' Up! team,
we "Love what we do, and Share what we love"!

All of the projects we learn can be used again with new colours, papers and stamps.
This would make a lovely gift for someone you know wouldn't it? 
Happy Crafting!
Lesley x

Saturday 26 October 2013

Team play day

If you join our team, this is a snippet of what you could enjoy!
First the yummy goodies Liz and Ros brought to share
Unfortunately Alan didn't get to the melting moments before me!

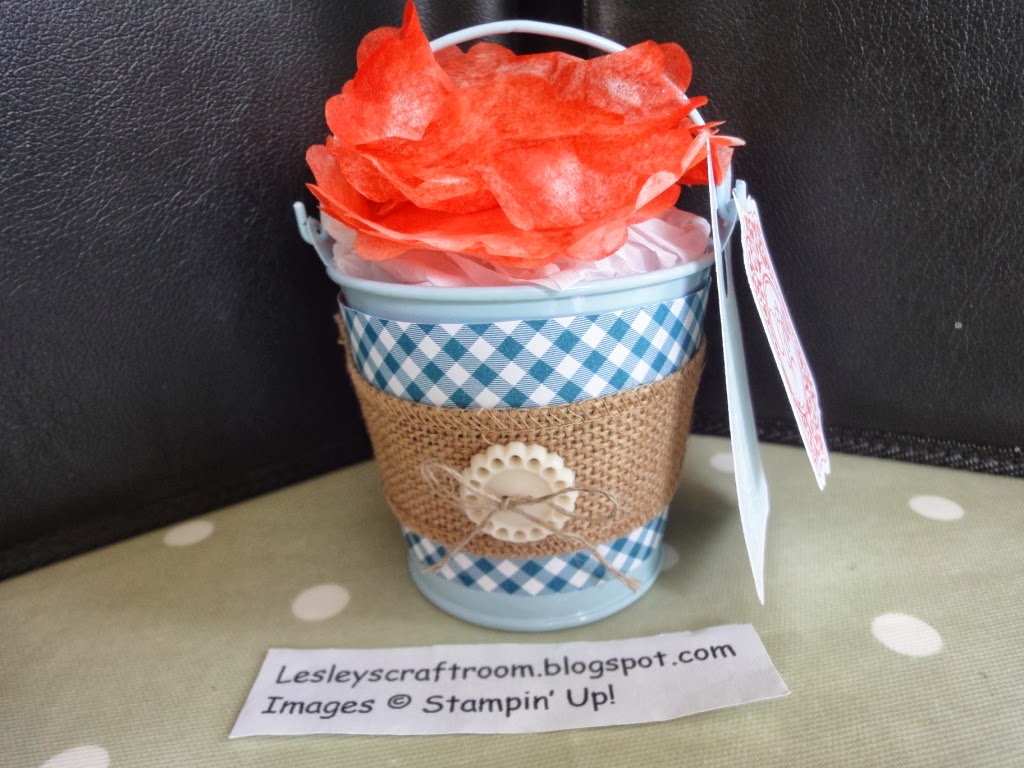
Jan made us these cute buckets!


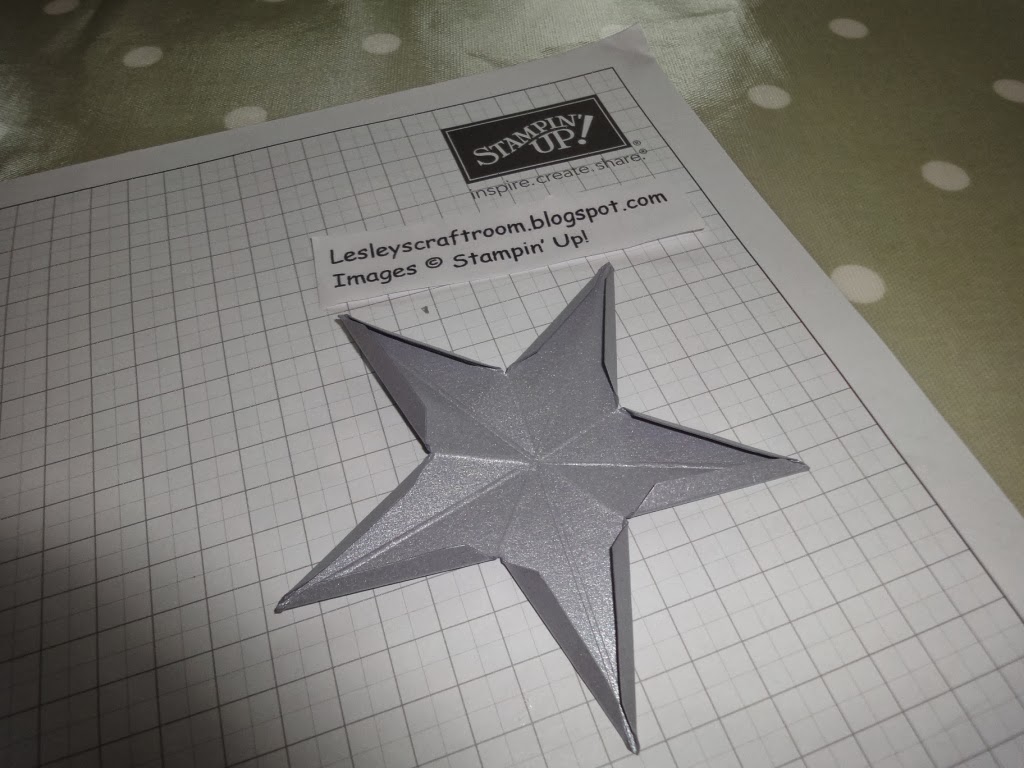
This was my make and take.....
we each provide one to share, so that we can all play and learn new techniques


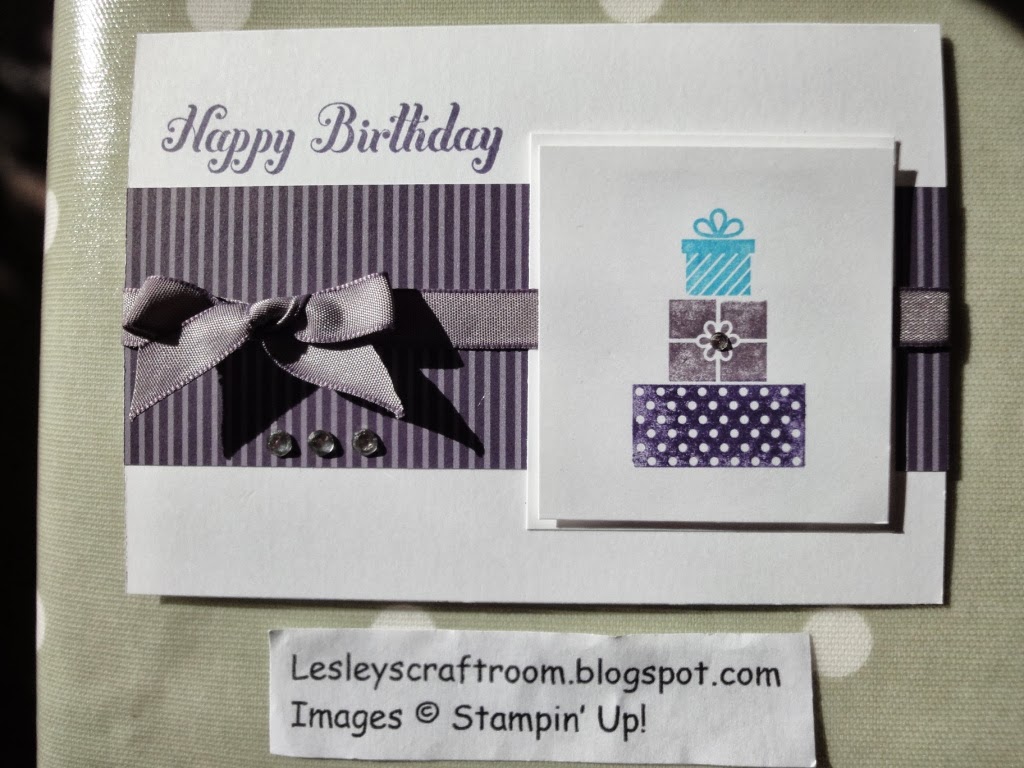
Jan's make 'n' take was elegant as usual,
and blue, and with bling!
She has a lovely style.


Ros makes beautiful cards too, and she shared this make with us.
We cut one of the hexagons by hand, because it seemed to fit better,
but we used the Hexagon punch for the others.
Love the colours and textures.


Liz provided this gem made with the Top Note die.
Lovely colours again, and that's a clear button with a punched flower on top.
Inky background if you look close too.


This was Liz's swap.
Love the polka dot embossing, cut with the labels framelits.
En Francais background, and luuuurvly vellum flowers,
stamped and embossed in white.
Very elegant, and Rhinestones adorn their centres.


Ros gave us this oh so cute swap!
I little mouse book-mark.
See the tail peeking out from behind?


Here's another view......
so cute and clever......


We are meeting again soon!
One of the many benefits of joining the Stampin' Up! Family.
We have sooooo much fun!

Friday 25 October 2013

Special Friend

I made a similar card for Alan's mum last month,
but forgot to show you this one I made for a friend.


I love using the doilies, and the patchwork effect is so versatile.
The stamp is the Six-sided Sampler from Stampin' Up!,
and one of the things I love about Stampin' Up! is that there's often a matching punch!
In this case the Hexagon Punch makes easy work of punching out the stamped images.
It looks so neat and professional too.
I mounted some hexagons on dimensionals (foam pads),
and there's some silver glimmer paper for added bling.
The envelope was decorated too,
using the envelope framelits, that makes easy work of lining your envelopes to match.

Thursday 24 October 2013

Christmas Tree

I wasn't sure if I shared this swap I made,
I liked it, and enjoyed making it so much,
I think I was planning on making a lot of my xmas cards in a similar way.
Hopefully, xmas is far enough away that you might forget it by then anyway!


I used the Stampin' Up! set  'Special Season'.
Stamped a couple of background trees in Pool Party blue.
The foreground tree is stamped in Island Indigo, then added some sparkly
Dazzling Diamonds on top.

I did a similar sparkly greeting.
The font of the greeting is so classy, don't you think?
I made it for a friend who loves blue, and anything that sparkles!

Wednesday 23 October 2013

postal swap

A few of my friends have been doing a postal swap,
thanks to, and organised by the lovely Sarn

Here's one my I sent recently to my lovely friend Liz
completely cased from Mary Fish

I used the 'Wishing you' stamp set, which shows it's not just for Christmas!

New Thinlits Dies

Hello again!
Talk about one extreme to another....
one minute I'm not blogging much, and then it seems like blog overload!

Stampin' Up! are celebrating their 25th Anniversary,
and so they are coming up with lots of new offers, and new goodies too!

Here's the new Thinlits Dies:

Here's the two choices:

circle
 label
Both £29.95 and you can find out more HERE
and click on 'Bigshot'

Tuesday 22 October 2013